USP Primer
| Feature | What It Is | Why It Matters |
| 32-bit MCU + High-Precision MEMS Gyro | A high-speed 32-bit processor works seamlessly with a precision MEMS gyro sensor for real-time steering correction. | Delivers faster response, smoother handling, and a more natural steering feel. |
| 9 Preset Response Curves | Nine built-in sensitivity curves ranging from smooth to aggressive. | Quickly adapt the gyro to different chassis, tracks, surfaces, and driving styles without complicated programming. |
| 180° End Point Adjustment (EPA) | Precisely adjusts the servo travel range to match your steering geometry. | Prevents oversteer, wheel interference, and mechanical binding while maximizing steering precision. |
| One-Touch Direction Reverse | Instantly reverses the gyro’s steering direction with a single button. | Makes installation fast and hassle-free when servo or chassis layouts change. |
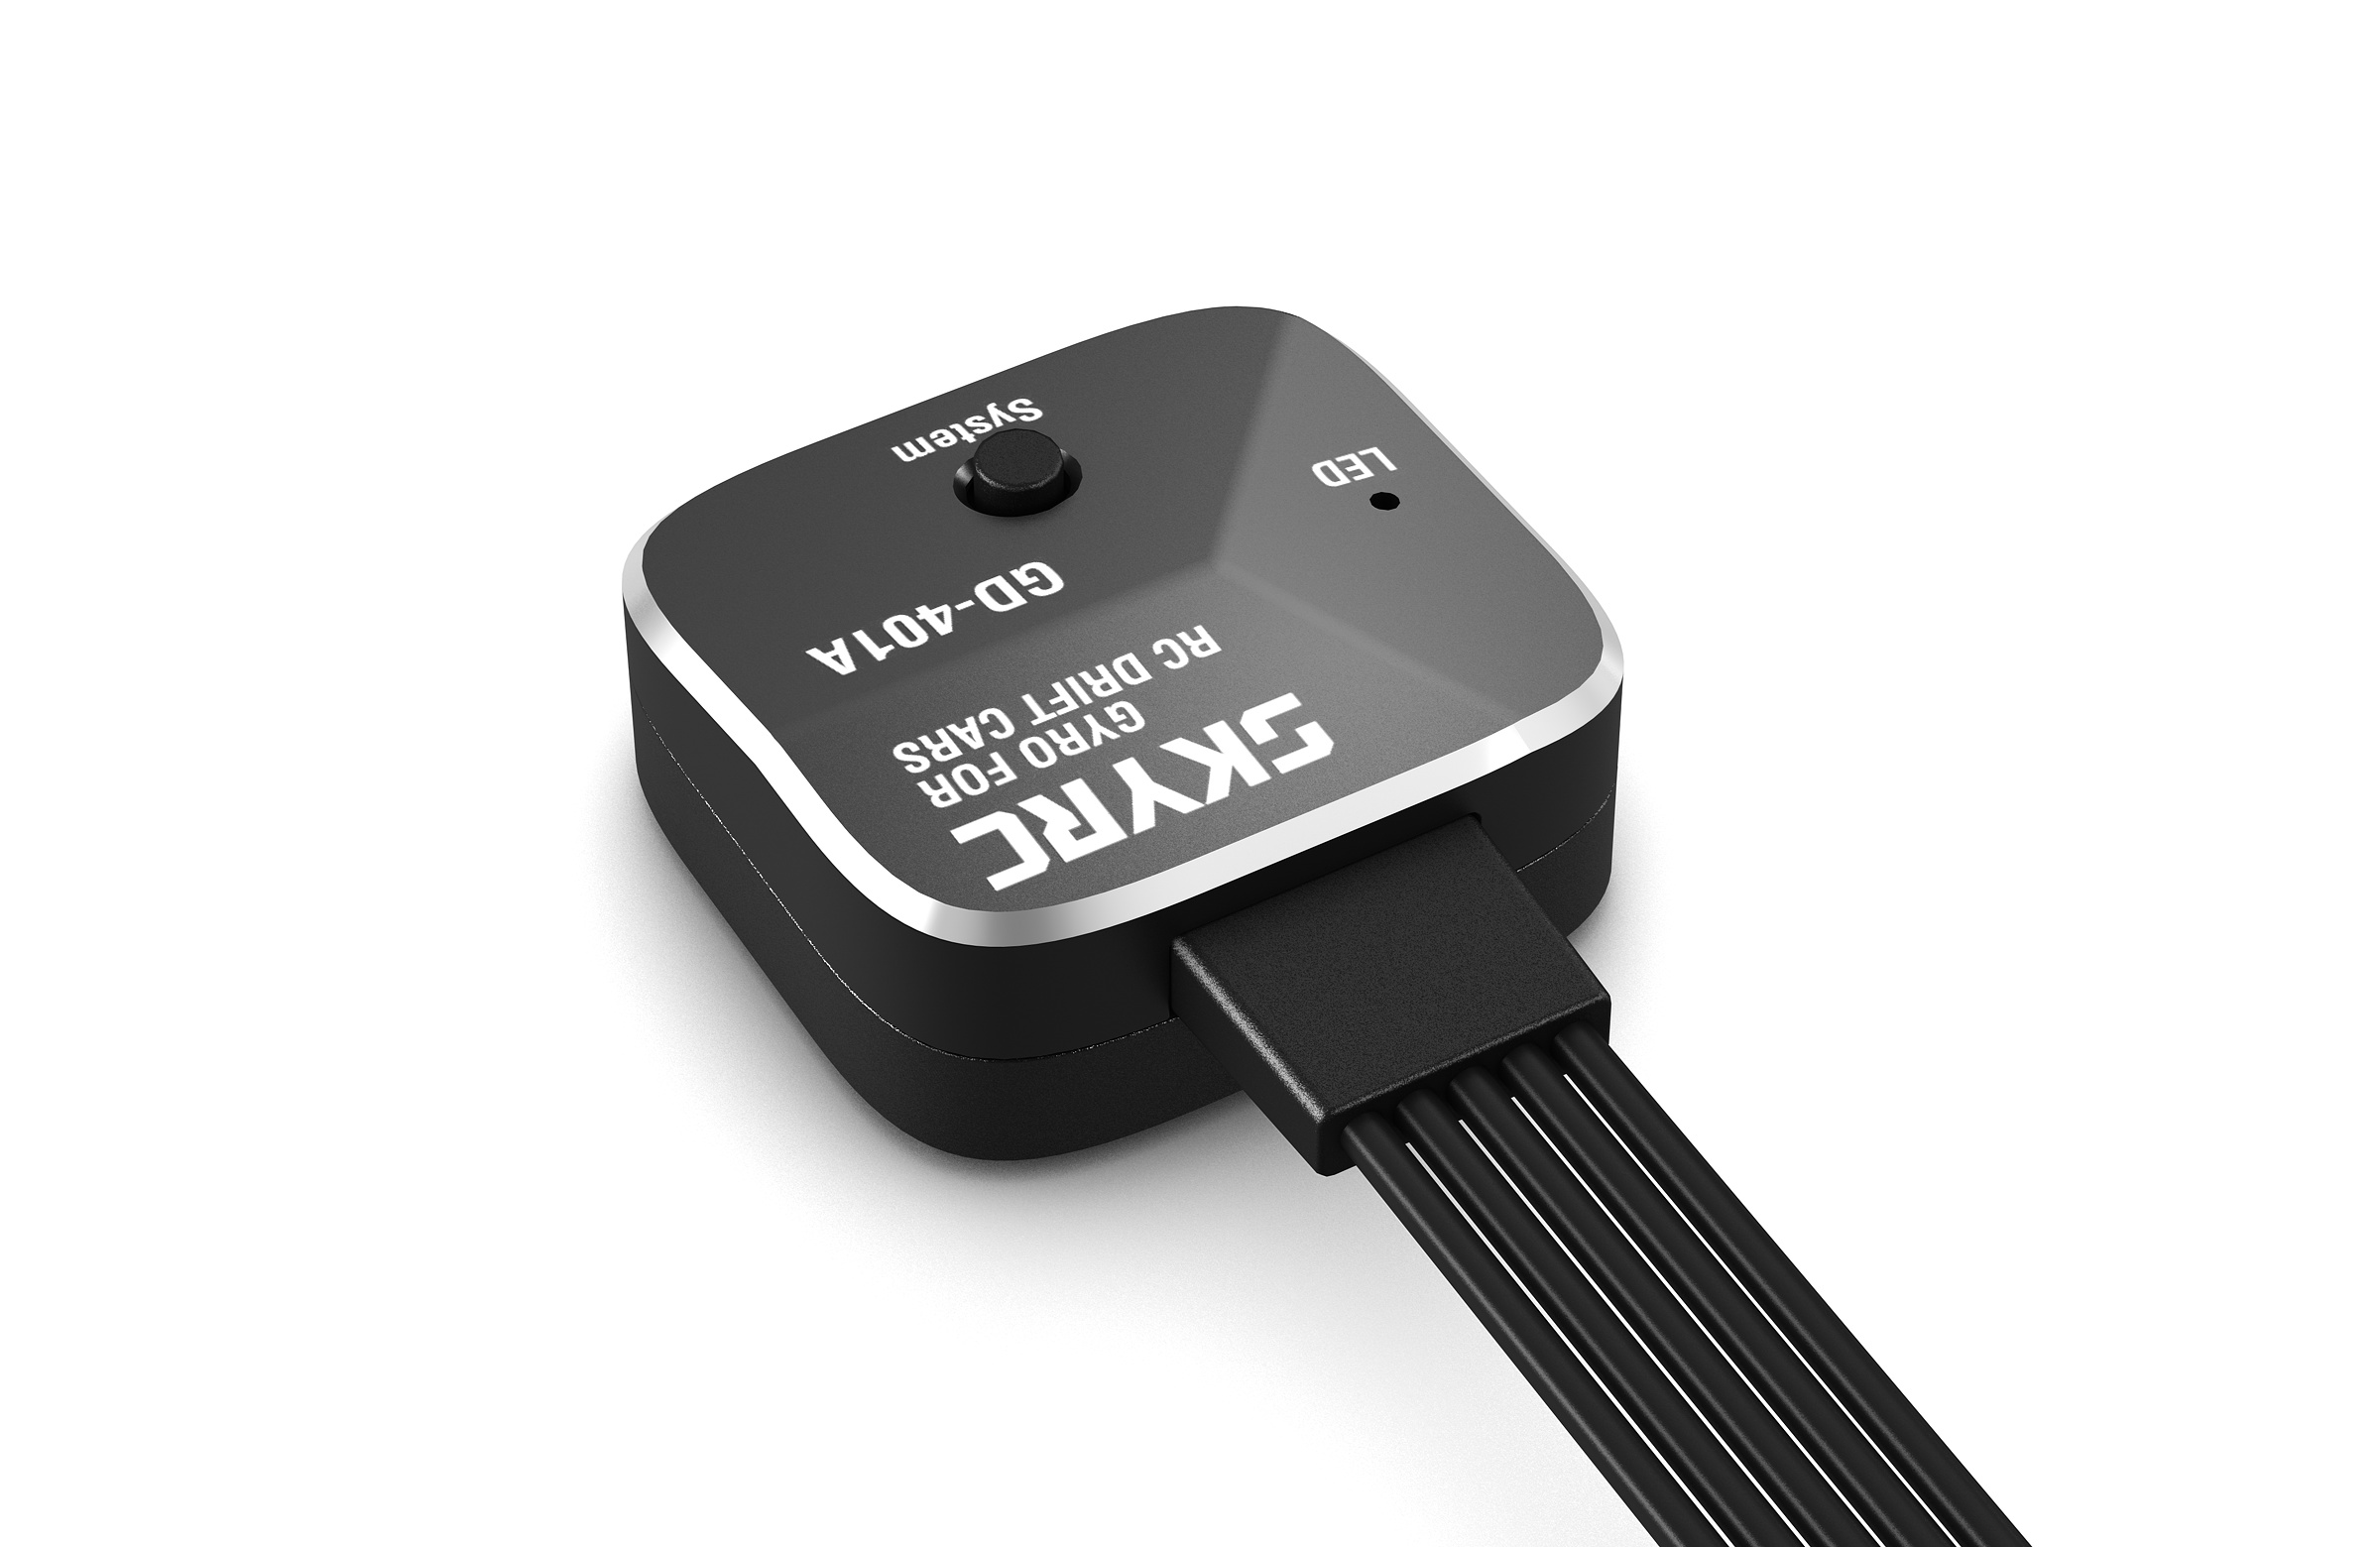
| Ultra-Compact Design | Miniature footprint that integrates neatly into virtually any RC chassis. | Leaves more room for electronics and wiring while simplifying installation. |
| CNC-Machined Aluminum Housing | Precision-machined aluminum enclosure with excellent rigidity and heat dissipation. | Provides durability, efficient cooling, and a premium finish. |
| Wide Vehicle Compatibility | Optimized for RWD drift cars and compatible with touring, rally, and short course models. | One gyro works across multiple RC platforms, reducing setup complexity. |
| Simple LED Status Indicators | LED signals display connection status and active response curve. | Makes setup and operation quick and intuitive without referring to the manual. |
| One-Button Operation | Most setup functions can be completed using a single button. | Fast configuration with minimal learning curve, ideal for beginners and experienced drivers alike. |
FAQ
Frequently Asked Questions
Q: What types of RC cars is GD-401A compatible with?
GD-401A is optimized for RWD drift cars but is also compatible with touring cars, rally cars, and short course trucks using standard steering servos.
Q: Is GD-401A suitable for beginners?
Yes. With 9 preset response curves, one-touch direction reverse, and simple LED indicators, setup is quick and intuitive for both beginners and experienced drivers.
Q: What makes GD-401A different from a standard RC gyro?
GD-401A combines a high-speed 32-bit MCU with a high-precision MEMS gyro sensor to provide faster steering correction, smoother handling, and more natural vehicle control.
Q: What are the 9 preset curves used for?
Each curve offers a different steering response, allowing drivers to fine-tune the gyro for different chassis, track surfaces, tire compounds, and driving styles.
Q: What is EPA (End Point Adjustment)?
EPA allows you to precisely adjust the servo travel within its ±90° range, preventing wheel interference and mechanical binding while maximizing steering performance.
Q: What does the one-touch reverse function do?
If the steering direction is reversed after installation, simply activate the reverse function to instantly correct the gyro’s operating direction—no transmitter reconfiguration required.
Q: How do I know which response curve is selected?
At startup, the green LED flashes 1 to 9 times, corresponding to the currently selected response curve.
Q: Why does GD-401A use a CNC-machined aluminum housing?
The aluminum housing improves structural rigidity and heat dissipation while maintaining an ultra-compact, lightweight form factor.
Q. Does the compact size make installation easier?
Yes. Its miniature footprint fits neatly into most RC chassis, making installation and cable routing cleaner and more convenient.
Q. Does the gyro require complicated tuning before driving?
No. The default settings are ready for most users. Additional tuning through the 9 response curves and EPA adjustment allows more experienced drivers to further optimize performance.
Quick Start Guide
1. Install the Gyro
- Secure GD-401A firmly to the chassis using the supplied double-sided tape.
- Install the gyro on a flat surface with the arrow facing the vehicle’s forward direction.
- Keep the unit away from excessive vibration whenever possible.
2. Connect the Electronics
- Connect the STEERING SERVO output to the steering servo.
- Connect the RECEIVER port to the receiver’s steering (CH1) output.
- Connect the GAIN port to your receiver’s gain channel (CH3) .
Refer to the user manual for the wiring diagram.

3. Power On
- Turn on the transmitter first.
- Then power on the vehicle.
- Wait a few seconds for the gyro to initialize.
4. Check Steering Direction
Turn the chassis by hand.
- If the gyro corrects in the opposite direction, you’re ready to drive.
- If the correction is reversed, use the One-Touch Reverse function to change the gyro direction.
5. Select Your Response Curve
- Press the SET button briefly to cycle through the 9 preset response curves.
- The green LED flashes 1–9 times to indicate the selected curve.
Start around Level 4 or 5, then fine-tune to match your driving style.
6. Adjust EPA (If Required)
Fine-tune the steering endpoint to match your chassis.
Correct EPA settings help:
- Prevent wheel interference
- Avoid mechanical binding
- Maximize steering precision
7. Start Drifting (If Required)
You’re ready to go.
Experiment with different response curves to find the steering feel that best suits your chassis, track surface, and driving style.
LED Reference
| Color | Status | Explanation |
|---|---|---|
| Green | Steady on | Operation completed |
| Transmitter disconnected | ||
| Zero sensitivity | ||
| Flashing in a loop | LED flashes in a loop 1 to 9 times, indicating the current curve level. | |
| Red | Flashing | Adjustment Mode Enabled |
| No signal received by the gyro; transmitter is not powered on. | ||
| Orange | Flashing | Servo Travel Setting Indication |
Media Kit
BRAND ASSETS
Official SkyRC logos and brand assets for media, partners, and promotional use.

SkyRC Logo
Recommended Images for Video Cover


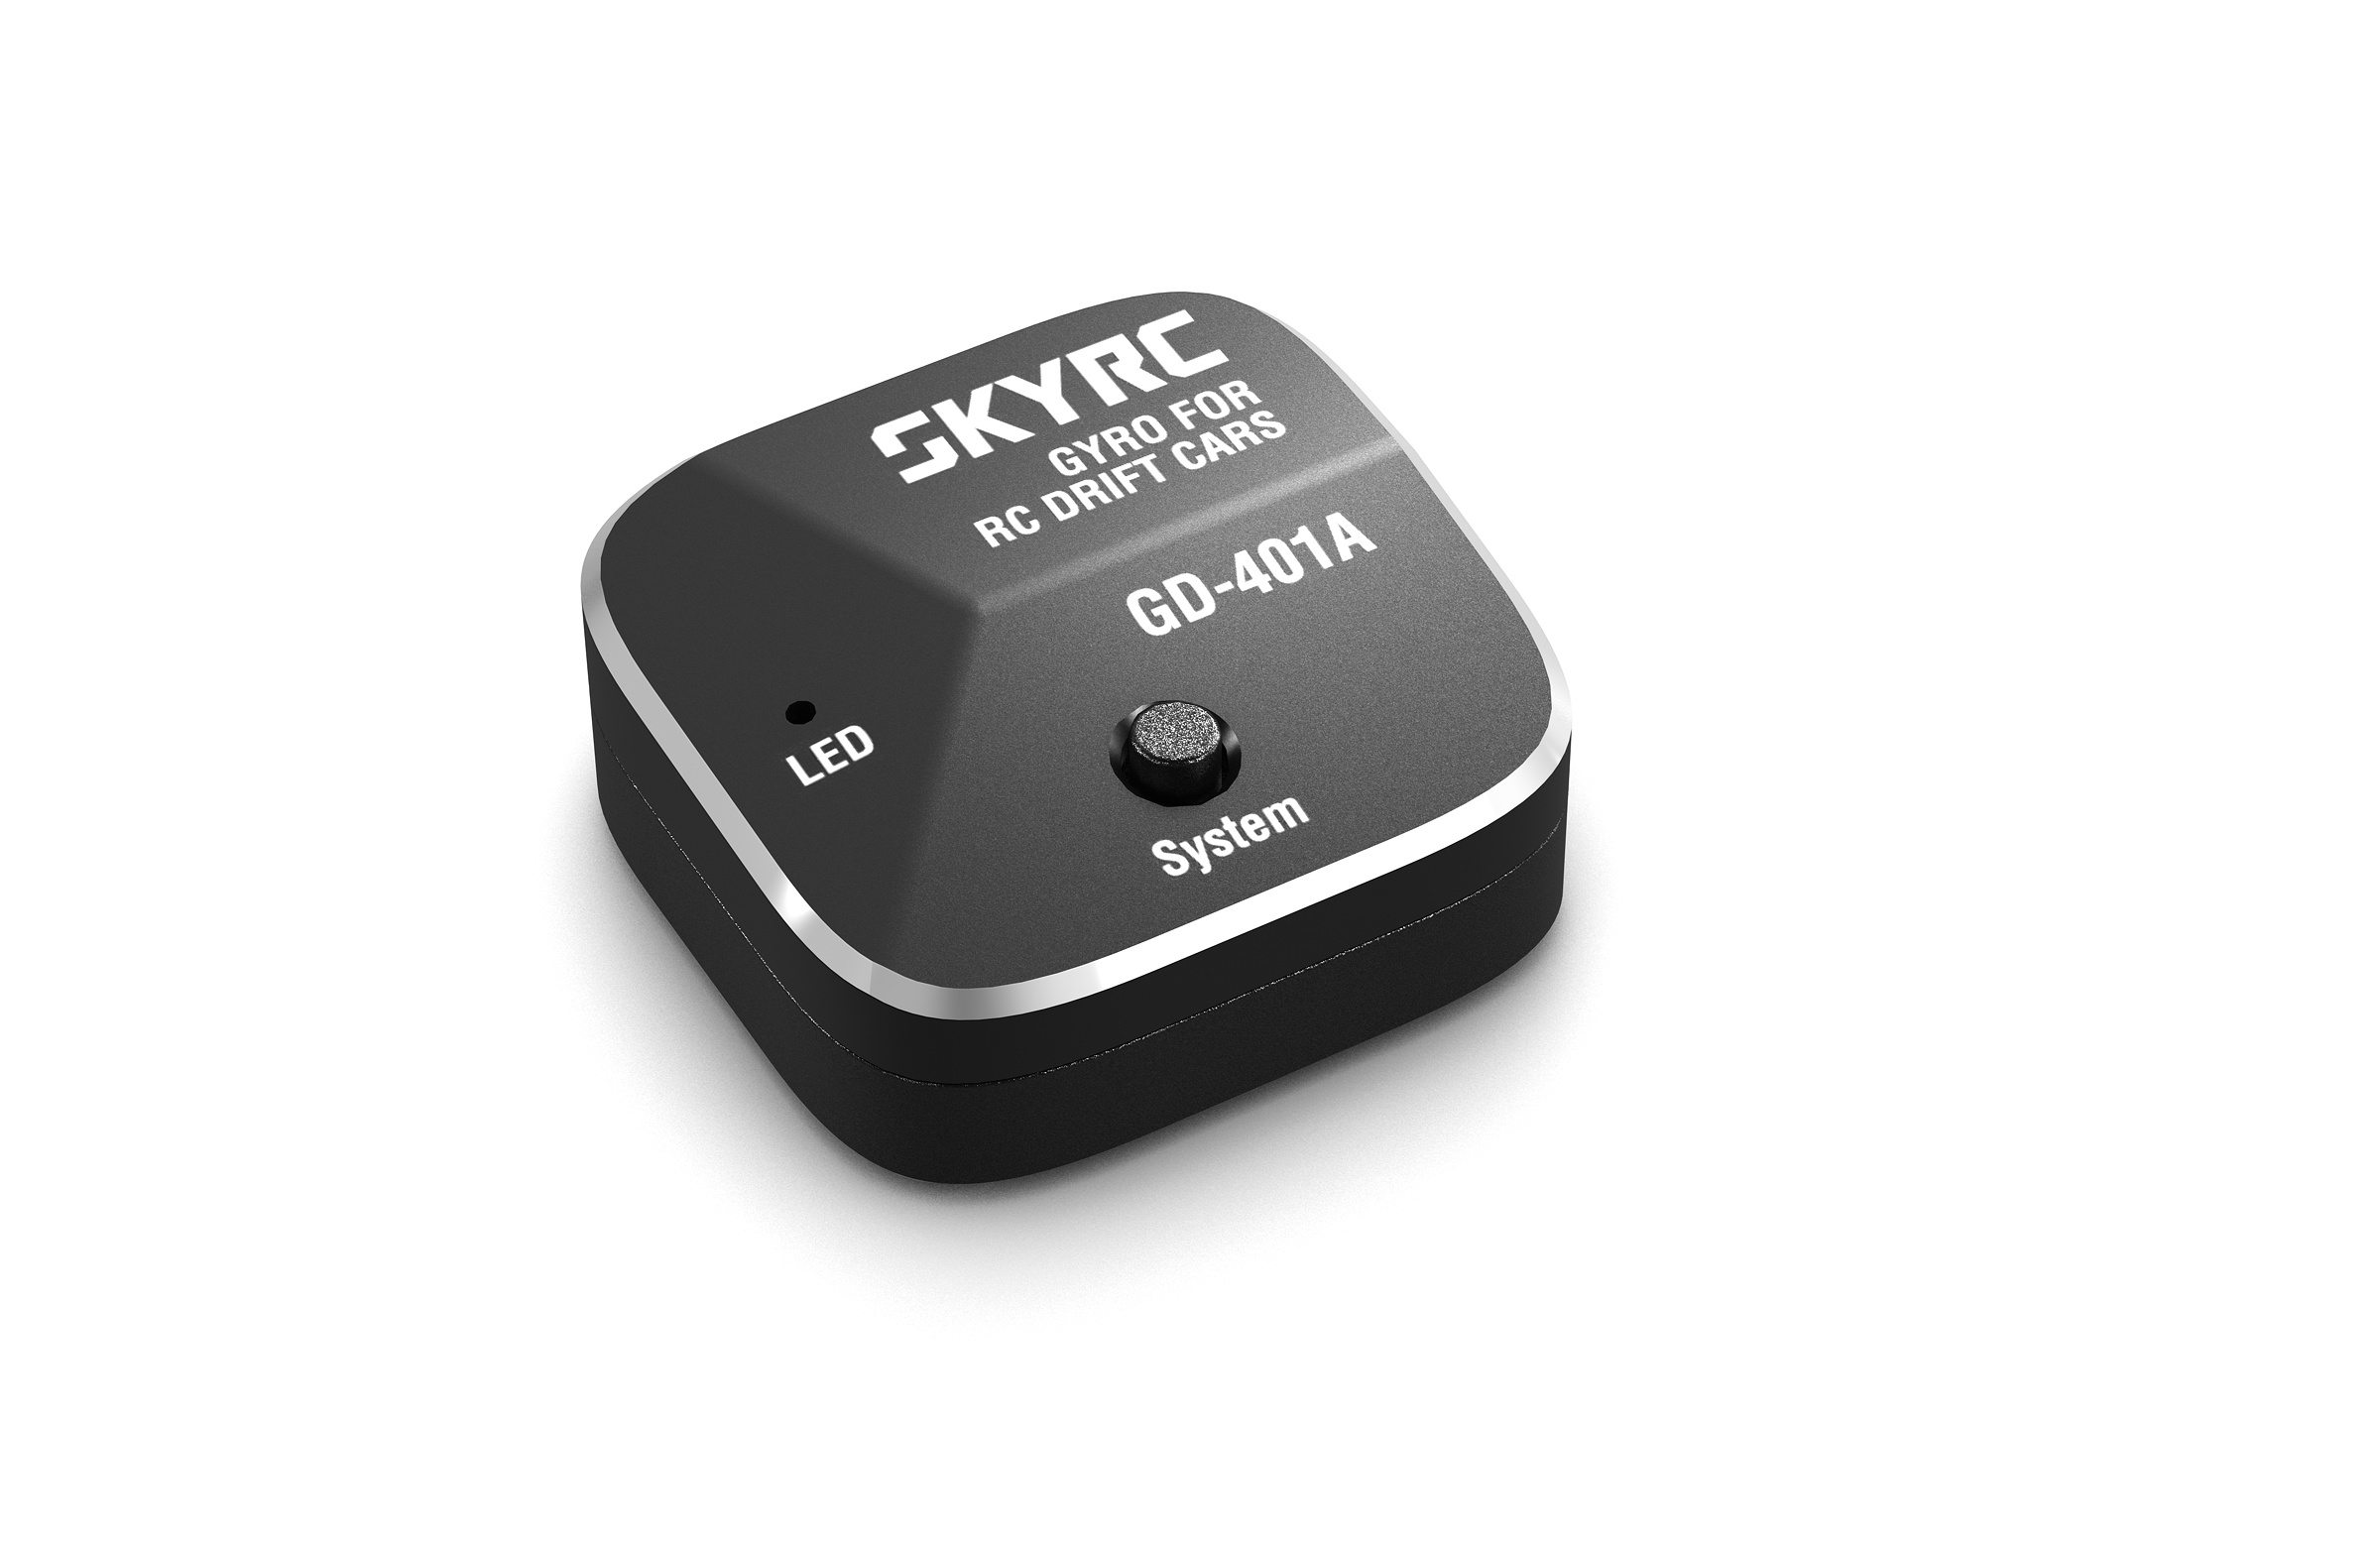
Hi-res Pictures with Transparent Background

GD-401_01

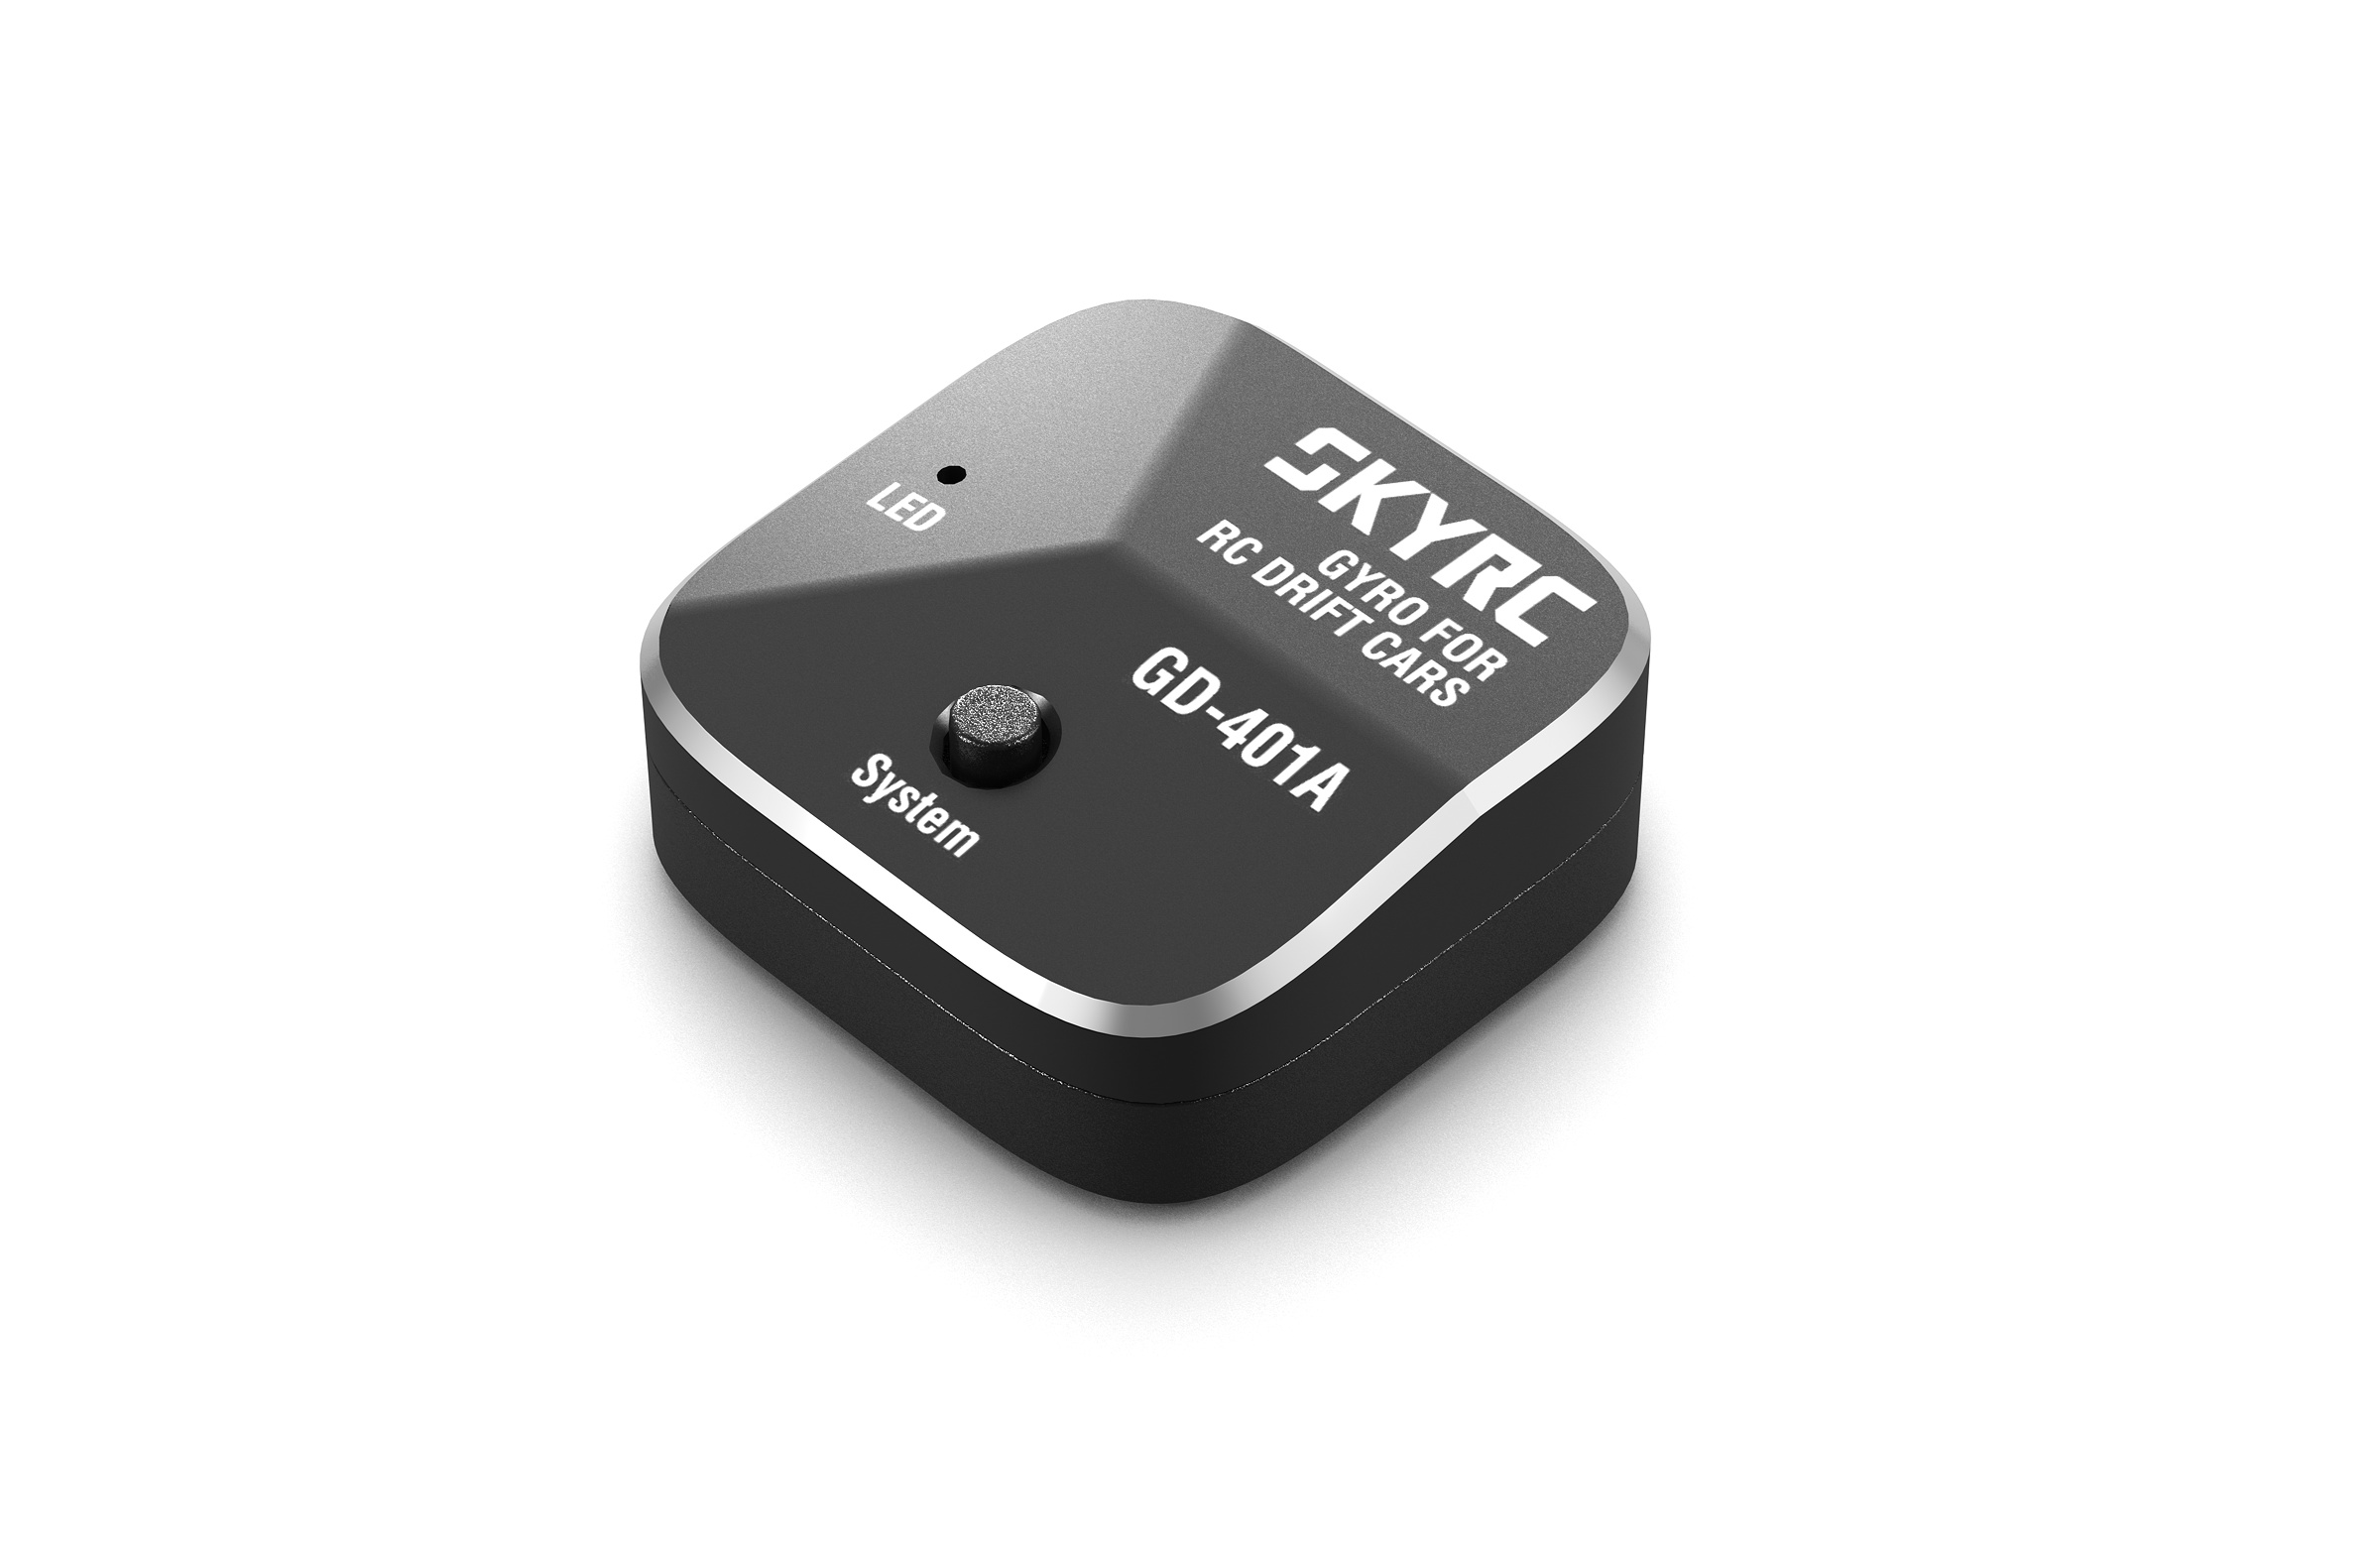
GD-401_02

GD-401_03
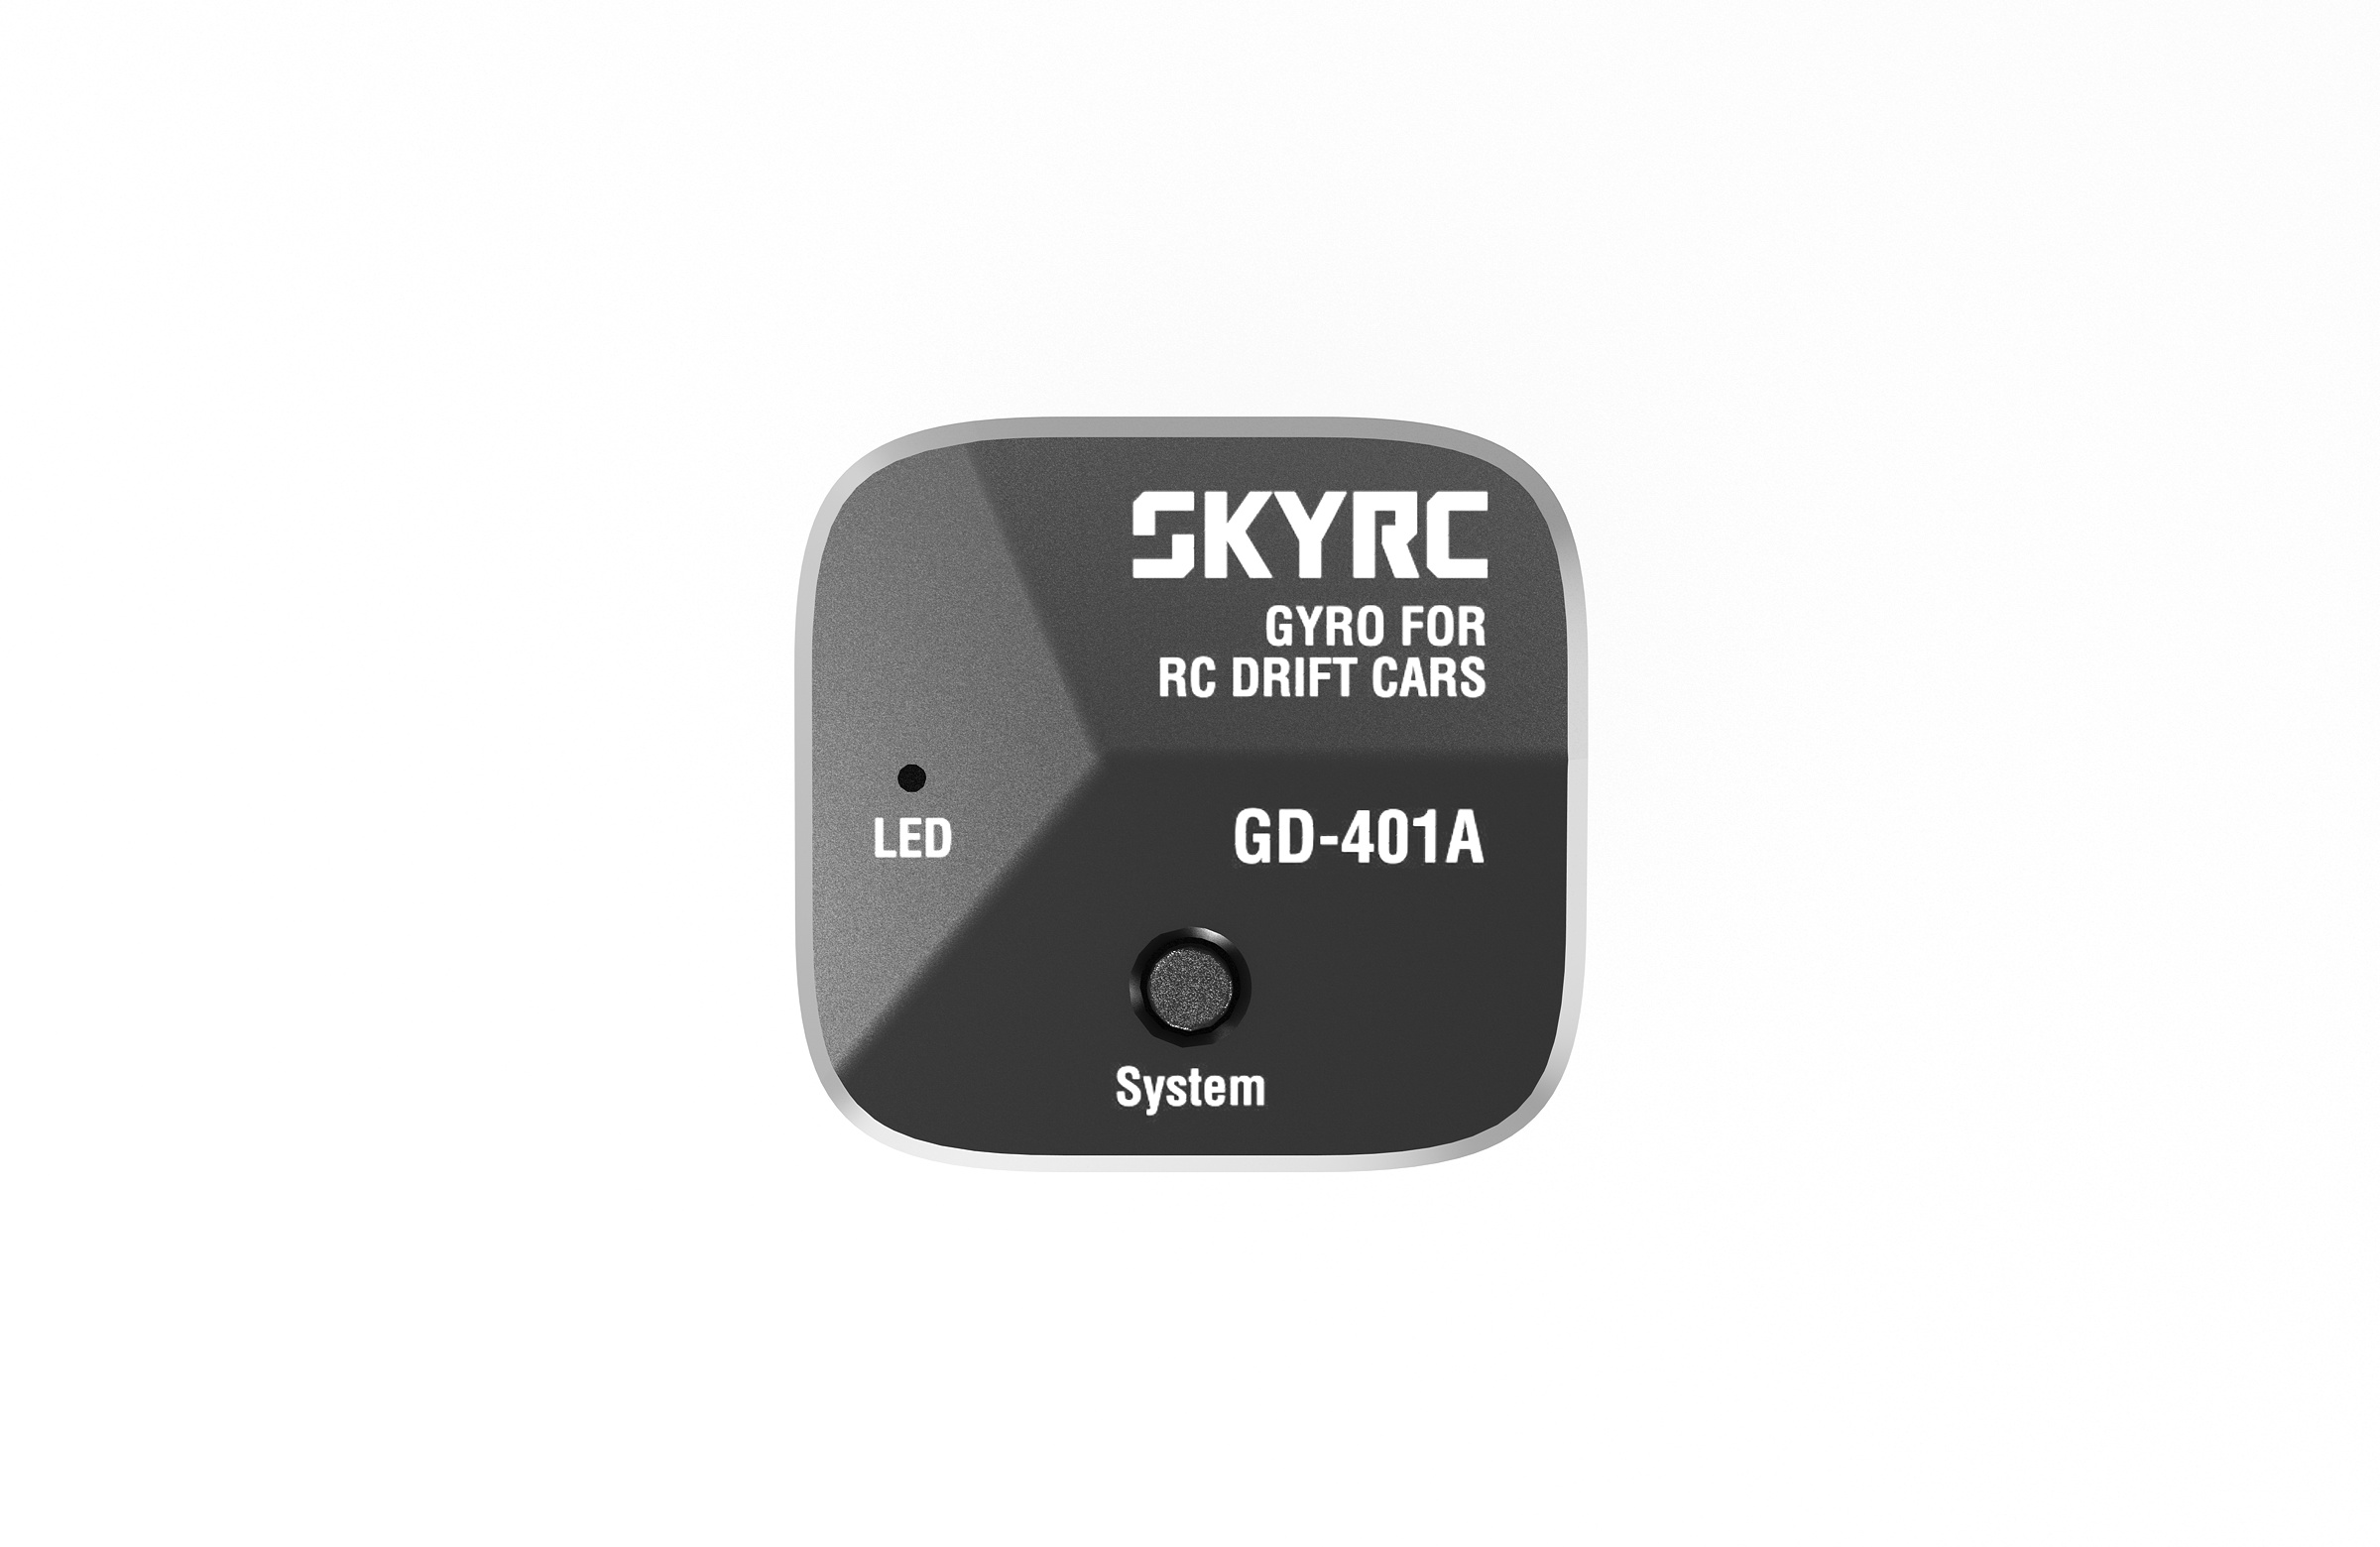

GD-401_04
Video Reels
GD-401A Gyro for RC Drift Cars